Nesquik Chocolate Pie: A Retro 5-Minute Chocolate Drame
The Nostalgic Magic of Nesquik Chocolate Pie
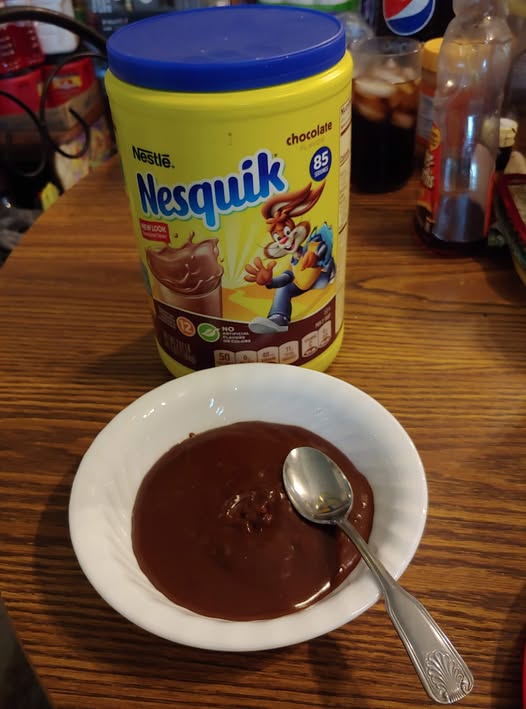
There is something incredibly special about a recipe that stands the test of time for over 45 years. This Nesquik Chocolate Pie is the ultimate throwback to simpler days in the kitchen. Back then, my kids used to call it “Rabbit Milk” because of the iconic character on the yellow tin.
Whenever I whisk this up, the kitchen fills with that familiar, sweet chocolate aroma. It reminds me of the early mornings I spent as a barista, steaming milk for chocolate lattes. However, this pie is even more comforting because it has that thick, velvety “grandma’s house” texture.
Whether you eat it warm as a pudding or chill it in a flaky crust, it never fails to satisfy a chocolate craving. It sets quickly and uses ingredients you probably already have in your pantry right now. Let’s look at how to master this creamy, retro Nesquik Chocolate Pie in your own home.
Why You’ll Love This Nesquik Chocolate Pie
-
Retro Simplicity: This is a classic “back of the box” recipe that actually works perfectly every time.
-
Speedy Prep: You can have a rich chocolate filling ready in under 10 minutes on the stove.
-
Versatile Serving: Enjoy it as a warm pudding on a rainy day or a sliced pie for guests.
-
Kid Approved: The mild, sweet chocolate flavor is a guaranteed hit with children and adults alike.
Bakery-Level Pro Tips for Perfect Texture
As someone who has worked in high-volume bakeries, I know that starch management is key to a perfect custard. For this Nesquik Chocolate Pie, your cornstarch is your best friend. Always whisk your dry ingredients into the cold milk before you turn on the heat.
Furthermore, do not walk away from the stove during the cooking process. Constant whisking prevents the bottom from scorching and ensures a silkier mouthfeel. If you stop stirring, you risk getting lumps, which is a major “no-no” in professional pastry work.
Additionally, the “thickening point” happens very fast once the milk reaches a simmer. You will see the whisk leave tracks in the chocolate mixture; that is when you know it is done. Remove it from the heat immediately to prevent the cornstarch from breaking down and becoming watery.
Lastly, consider the “skin” that forms on puddings. If you are chilling this as a pie, press a piece of plastic wrap directly onto the surface. This prevents a tough film from forming, keeping your Nesquik Chocolate Pie looking professional and polished.
Ingredients You Will Need
-
1 Cup Nesquik Chocolate Powder: This provides that signature malted chocolate flavor we all remember.
-
3 Tablespoons Cornstarch: This acts as the thickening agent to give the pie its structure.
-
2 Cups Whole Milk: Using whole milk creates a much creamier, richer custard than skim milk.
-
1 Teaspoon Pure Vanilla Extract: A splash of vanilla rounds out the cocoa notes for a deeper flavor.
-
1 Pre-Baked 9-inch Pie Crust: You can use a traditional flour crust or even a graham cracker crust.
-
Cool Whip (Optional): This adds a light, airy finish to balance the dense chocolate.
USA Substitutions
If you don’t have the name brand on hand, any store-brand chocolate milk mix will work for this Nesquik Chocolate Pie. Just ensure it is a “mix” and not plain unsweetened cocoa powder, as the mix contains the necessary sugar.
For a dairy-free version, you can substitute the milk with oat milk or almond milk. However, be aware that the final set might be slightly softer than when using traditional cow’s milk.
If you find yourself out of cornstarch, you can use 6 tablespoons of all-purpose flour. Just keep in mind that flour requires a slightly longer cook time to remove the raw grain taste.
Step-by-Step Instructions
-
Prep the Pan: Take a heavy-bottomed saucepan and place it on your stove, but keep the heat off for now.
-
Combine Dry Ingredients: Measure out your chocolate mix and cornstarch, then add them to the pan.
-
Slow Addition: Gradually pour in the 2 cups of milk while whisking vigorously to ensure there are no clumps.
-
Cook and Whisk: Turn the burner to medium heat. Whisk the mixture constantly as it begins to warm up.
-
Watch for Thickness: Continue whisking until the mixture reaches a boil and thickens into a heavy pudding consistency.
-
Off the Heat: Once thick, remove the pan from the burner immediately to avoid overcooking.
-
Flavor Boost: Stir in the teaspoon of vanilla extract until it is fully incorporated.
-
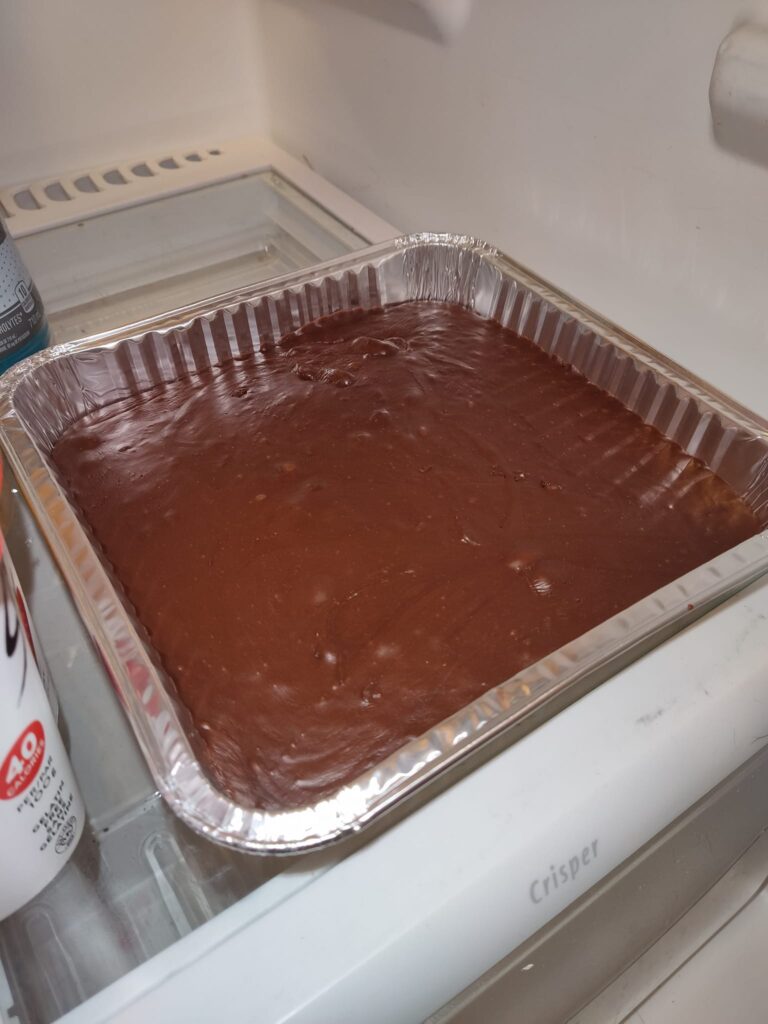
The Final Pour: Carefully pour the hot chocolate mixture into your pre-baked pie shell or individual bowls.
-
Set and Chill: Allow the pie to sit at room temperature for a few minutes, then move it to the fridge to set completely.
-
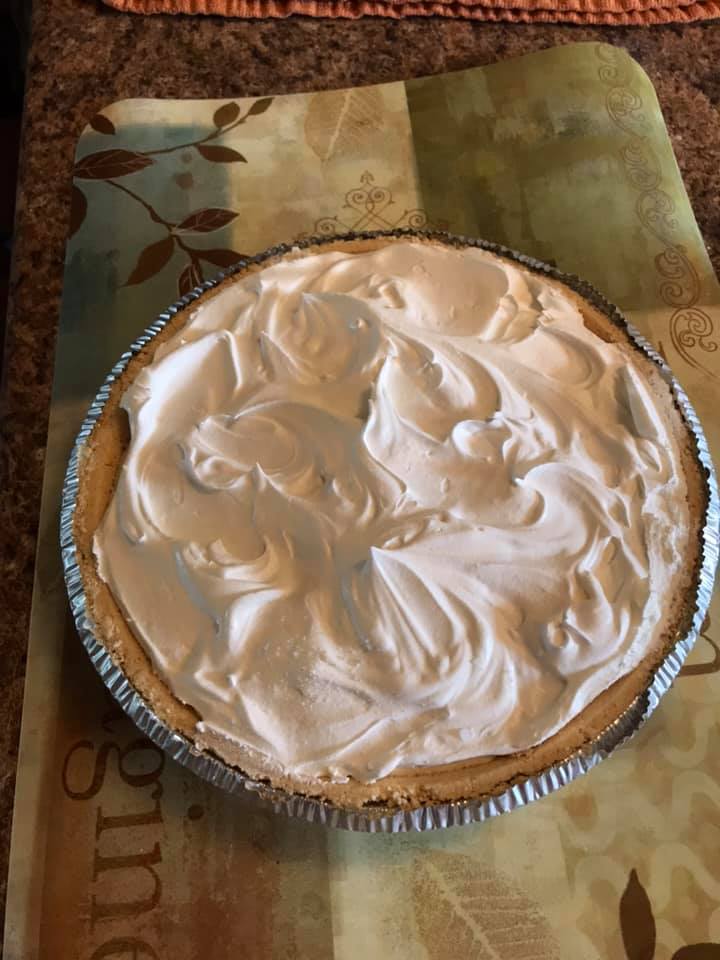
Topping: Once cooled, spread a thick layer of Cool Whip over the top before slicing.
Storage, Freezing, & Reheating
This Nesquik Chocolate Pie must be stored in the refrigerator because of the high dairy content. It will stay fresh and delicious for up to 3 days when covered tightly.
I do not recommend freezing this particular pie. Cornstarch-based puddings often “weep” or separate when they thaw, which ruins that beautiful bakery-style texture.
If you are eating this as a pudding and want it warm, you can reheat it in the microwave. Use 30-second intervals and stir well between each to keep the consistency smooth.
Frequently Asked Questions about Nesquik Chocolate Pie
Can I use sugar-free Nesquik for this recipe? Yes, you can use the sugar-free version! Just double-check the thickening, as some sugar substitutes can slightly alter the cook time.
How do I keep the crust from getting soggy? Make sure your pre-baked crust is completely cool before you pour in the hot chocolate filling. This creates a barrier that keeps the crust crisp.
Is it okay to eat this warm? Absolutely! In fact, many people prefer it warm as a “pudding bowl” rather than letting it set as a pie slice.
Ingredients
Method
- In a thick-bottomed saucepan, whisk together the Nesquik powder and cornstarch.
- Slowly whisk in the milk until the mixture is completely smooth.
- Place the pan over medium heat and whisk constantly.
- Continue cooking until the mixture thickens to a heavy pudding consistency.
- Remove from heat and immediately stir in the vanilla extract.
- Pour the mixture into a pre-baked pie shell or individual serving bowls.
- Serve warm as a pudding, or refrigerate until set for a firm pie.
- Top with Cool Whip if desired before serving.