Easy Chocolate Fudge: The Perfect 3-Ingredient Recipe
Easy Chocolate Fudge: The Ultimate 3-Ingredient Bakery Secret
Whenever the holiday rush hit my old bakery, we needed recipes that were both reliable and decadent. Among all the complicated tortes and tarts, this Easy Chocolate Fudge was our secret weapon. It delivers a professional, velvety texture without the stress of a candy thermometer.
When you combine rich condensed milk with high-quality chocolate, something magical happens. This Easy Chocolate Fudge offers a deep cocoa flavor that melts slowly on your tongue. I remember the smell of melting chocolate wafting through the cafe every afternoon.
Actually, I tell my barista friends that this is the perfect “coffee companion.” The sweetness of the fudge cuts through the bitterness of a double-shot espresso beautifully. Best of all, you likely have the ingredients sitting in your pantry right now.
Why You’ll Love This Easy Chocolate Fudge
-
Minimal Ingredients: You only need three basic staples to make a gourmet treat.
-
No Thermometer Required: Skip the “soft ball stage” stress and use this foolproof method.
-
Glossy Professional Finish: The double boiler ensures a smooth, shiny look every time.
-
Quick Prep Time: You can have the mixture ready for the fridge in under five minutes.
Bakery-Level Pro Tips for Perfect Texture
As a professional baker, I always emphasize the importance of gentle heat. First, never melt your chocolate directly over a flame. This Easy Chocolate Fudge can seize or burn in a heartbeat if the temperature spikes. Using a double boiler provides the indirect steam heat necessary for a silk-like consistency.
Furthermore, keep a steady hand while stirring. You want to incorporate the condensed milk and chocolate fully without whisking in too much air. Air bubbles can ruin that dense, fudgey “bite” that customers crave.
Additionally, pay attention to the vanilla extract. In a professional kitchen, we always add the vanilla at the very end. If you add it to boiling liquid, the alcohol evaporates and takes the flavor with it. Finally, use a parchment-lined pan for easy removal once the fudge has hardened.
Ingredients You Will Need
Gather these three essential USA pantry items to begin:
-
1 Can Condensed Milk: Ensure you use sweetened condensed milk, not evaporated milk.
-
2 Cups Semi-Sweet Chocolate: You can use high-quality chips or chopped baking bars.
-
1 Tablespoon Vanilla Extract: This provides that classic, aromatic bakery finish.
USA Substitutions
If you want a darker flavor, you can swap the semi-sweet chips for 60% bittersweet chocolate. This makes the Easy Chocolate Fudge taste more like a high-end truffle. For a festive twist, you can stir in a half-cup of chopped walnuts or pecans.
Regarding the condensed milk, there are dairy-free coconut versions available now. These work surprisingly well if you are catering to vegan friends. However, the setting time may take an hour longer in the refrigerator. Just ensure the fat content is high enough to maintain the structure.
Step-by-Step Instructions
-
Set the Stage: Fill a saucepan with an inch of water and bring it to a simmer. Place a heatproof glass or metal bowl over the top to create your double boiler.
-
Combine the Fats: Pour the entire can of sweetened condensed milk into the bowl. Add your two cups of semi-sweet chocolate chips immediately.
-
Stir Consistently: Use a rubber spatula to stir the mixture the entire time. This prevents the chocolate from sticking or burning against the sides of the bowl.
-
Watch the Clock: Continue stirring for about 3 to 4 minutes. The mixture should become thick, glossy, and completely smooth.
-
Flavor Boost: Remove the bowl from the heat. Quickly stir in the tablespoon of vanilla extract until it is fully incorporated.
-
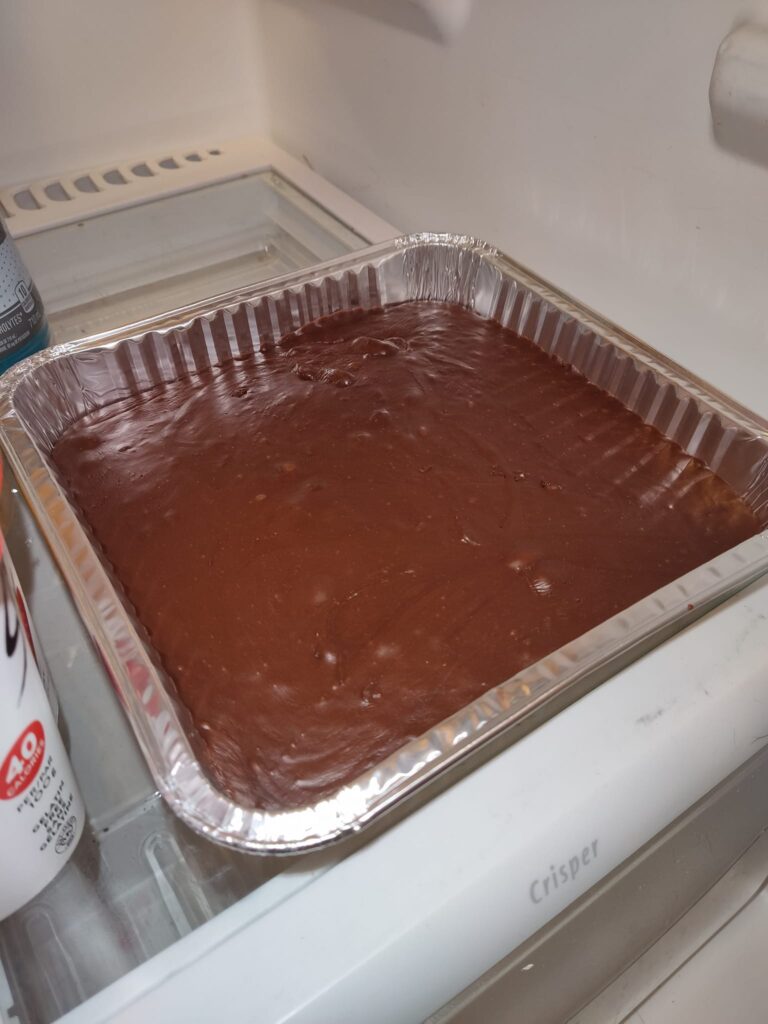
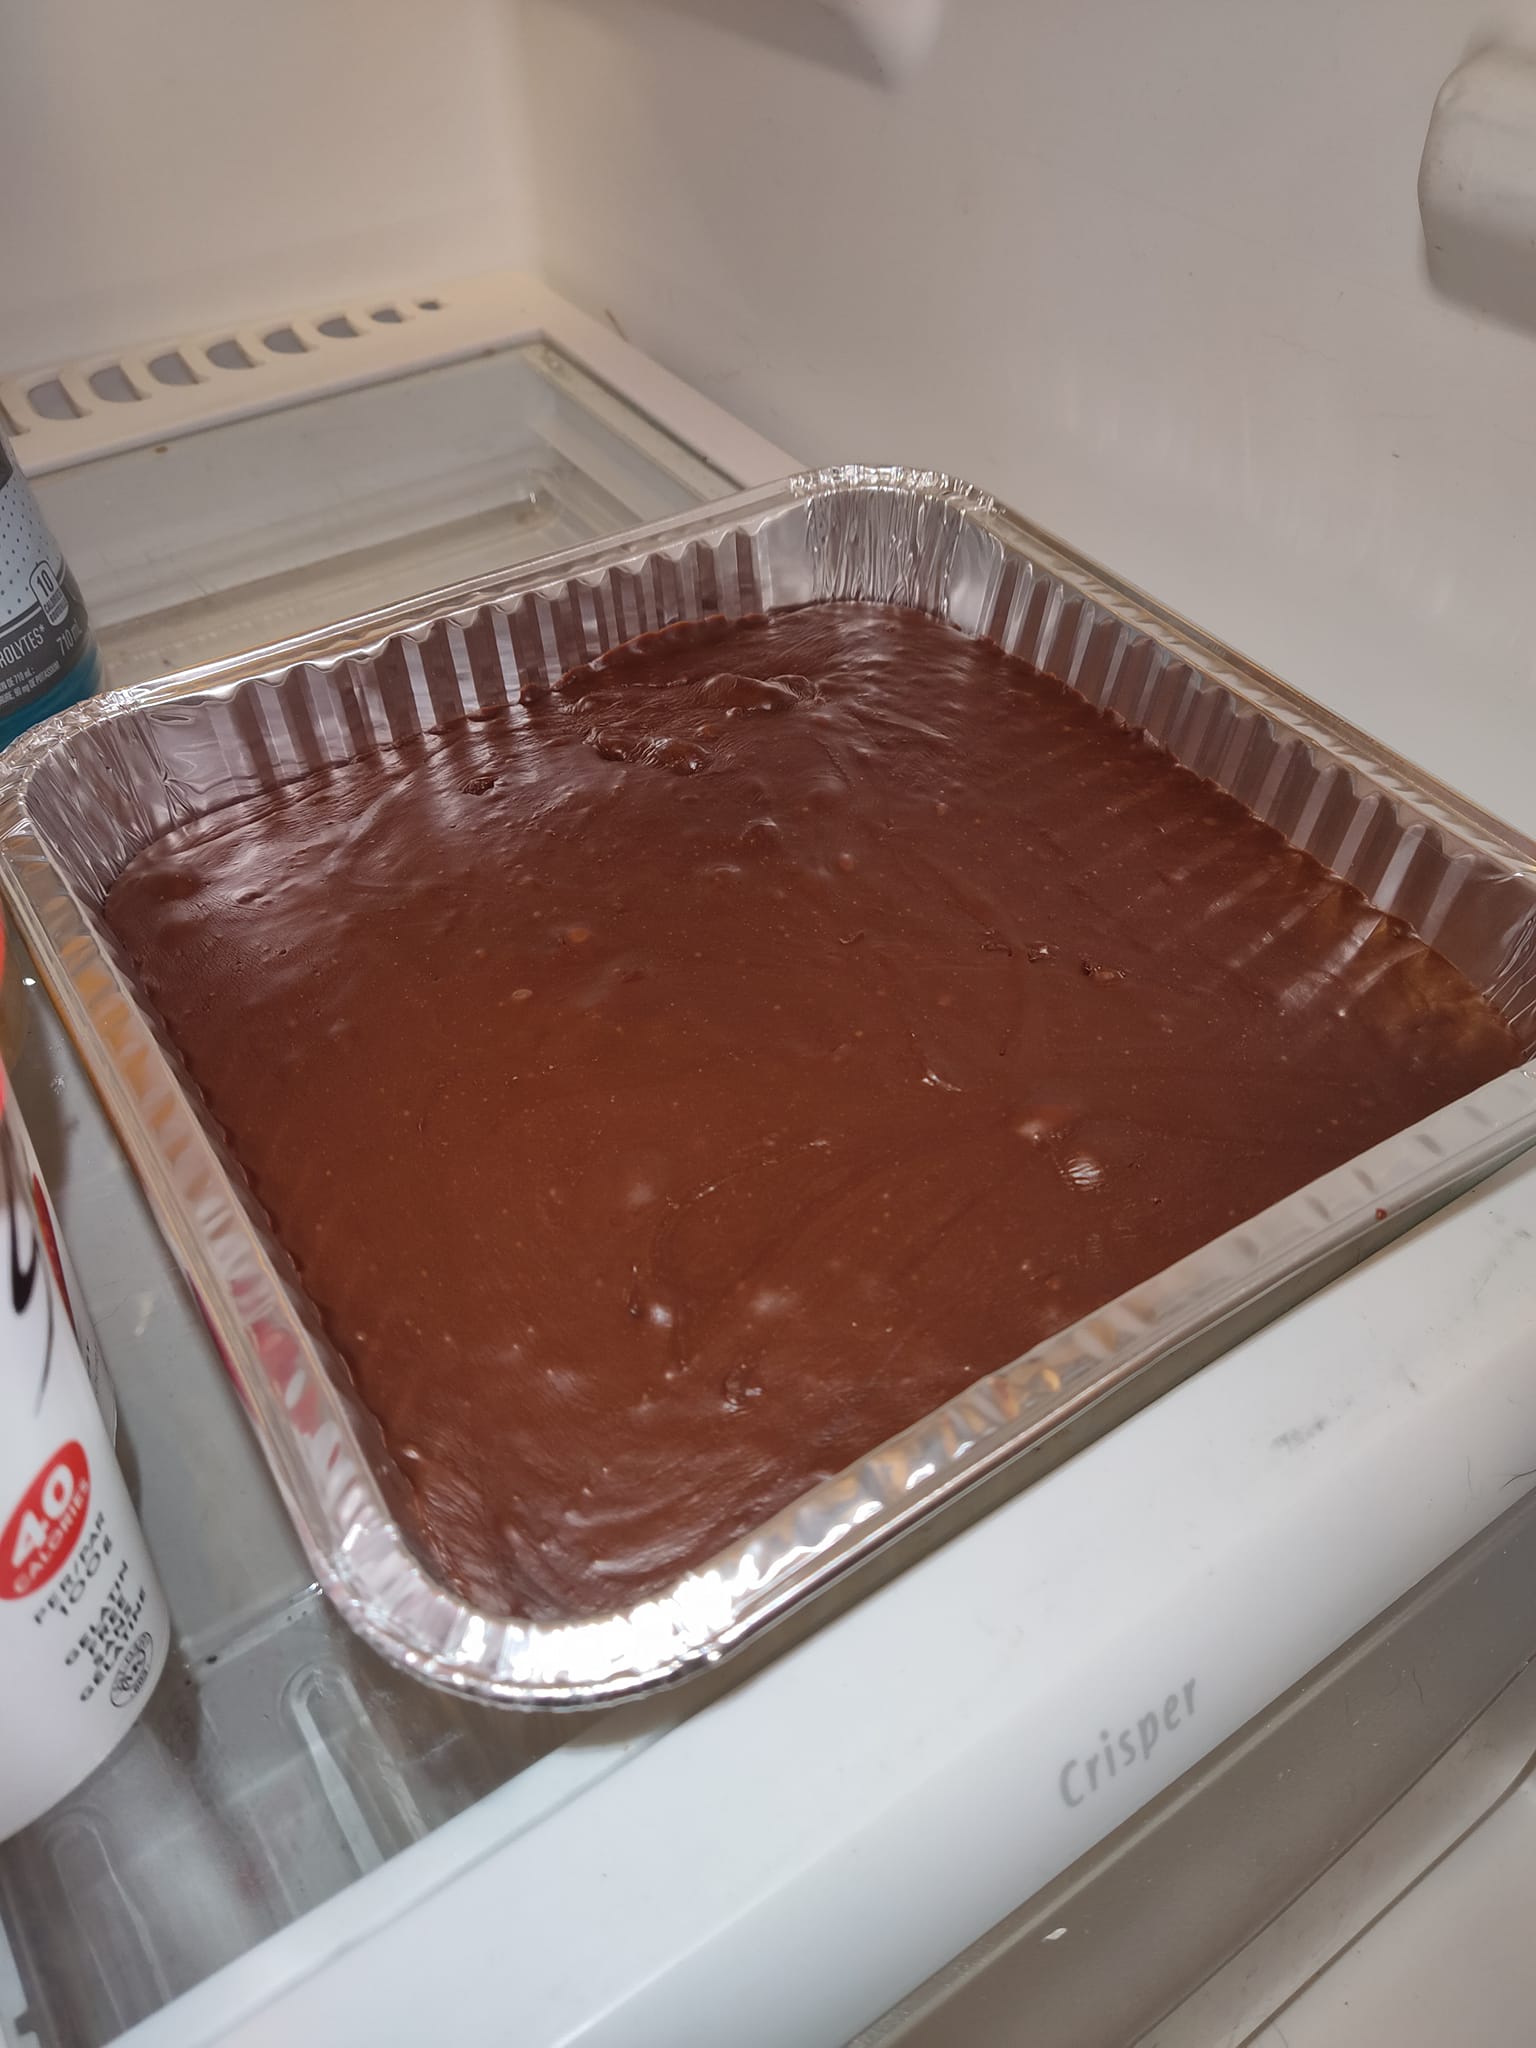
Prep the Pan: Pour the warm fudge into an 8×8 inch square pan lined with parchment paper. Smooth the top with your spatula for a flat surface.
-
The Cold Snap: Place the pan in the refrigerator. Let it sit for at least two hours until it is completely hard and set.
-
Slice and Serve: Lift the fudge out using the parchment paper edges. Use a sharp knife dipped in hot water to get those perfect, clean bakery squares.
Storage, Freezing, & Reheating
Fortunately, this fudge stays fresh for a long time. Store it in an airtight container in the refrigerator for up to three weeks. In fact, the flavor often deepens after the first twenty-four hours. Keep a layer of wax paper between the squares to prevent sticking.
If you want to freeze it, wrap the block tightly in plastic wrap. Then, place it inside a freezer-safe bag for up to three months. To serve, let it thaw in the fridge overnight. Avoid microwaving the fudge, as it will lose its temper and turn into a chocolate sauce!
Frequently Asked Questions about Easy Chocolate Fudge
Why did my fudge turn out grainy? Graininess usually happens if the sugar in the chocolate crystallizes. This can occur if a drop of water gets into your melting bowl. Ensure all your tools are completely dry before you start.
Can I use the microwave instead? You can, but I don’t recommend it for a professional finish. Microwaves create “hot spots” that can burn the chocolate easily. The double boiler gives you total control over the heat.
What kind of chocolate works best? I prefer using chocolate bars with a high cocoa butter content. However, standard semi-sweet morsels from the baking aisle work great for this specific recipe.
Ingredients
Method
- Prepare an 8x8 inch baking pan by lining it with parchment paper.
- Set up a double boiler by placing a heatproof bowl over a pot of simmering water.
- Combine the sweetened condensed milk and chocolate chips in the bowl.
- Stir the mixture constantly for 3-4 minutes until the chocolate is fully melted and smooth.
- Remove the bowl from the heat and stir in the vanilla extract quickly.
- Pour the mixture into the prepared pan and spread it into an even layer.
- Refrigerate the fudge for at least 2 hours or until it is firm to the touch.
- Lift the fudge out of the pan and cut it into small squares using a sharp knife.